This variation is not a first for me, but IS the first I've made at home, I think. I've usually only made the all-ice-cream version for friends and family because that's what they've requested. There are MANY variations, and I will try to explain them as I go along. And I will try to make the instructions as clear as possible. Unfortunately, I didn't think to photograph all of the steps, but did manage a few while I was assembling the parts.
For this particular cake, we decided on marble cake on the bottom, topped with chocolate chip cookie dough ice cream, and just a can of whipped chocolate frosting on top.
Step 1 - Cake Bottom
(skip this step for an all-ice-cream cake)
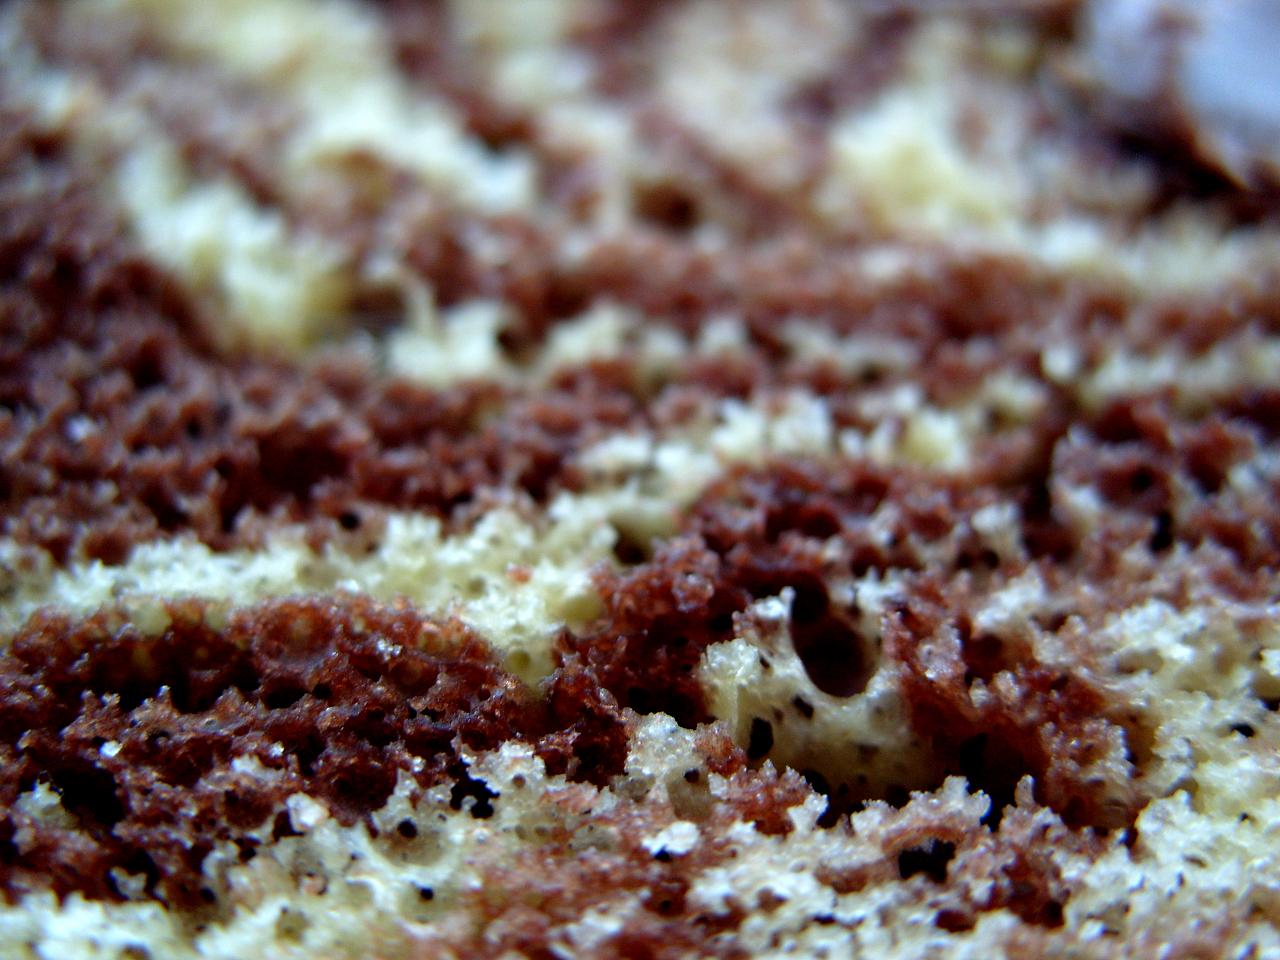 Bake any kind or size of cake. I used a box of marble cake mix, and had to split it into two 9-inch round cake pans because our 9"x12" pan disappeared during one of our moves...and never got replaced. But I only needed to use one of these cakes; the other we've been consuming. Allow cake(s) to cool completely, then carefully cut off the top of the cake evenly with a long knife.
Step 2 - Ice Cream Cake
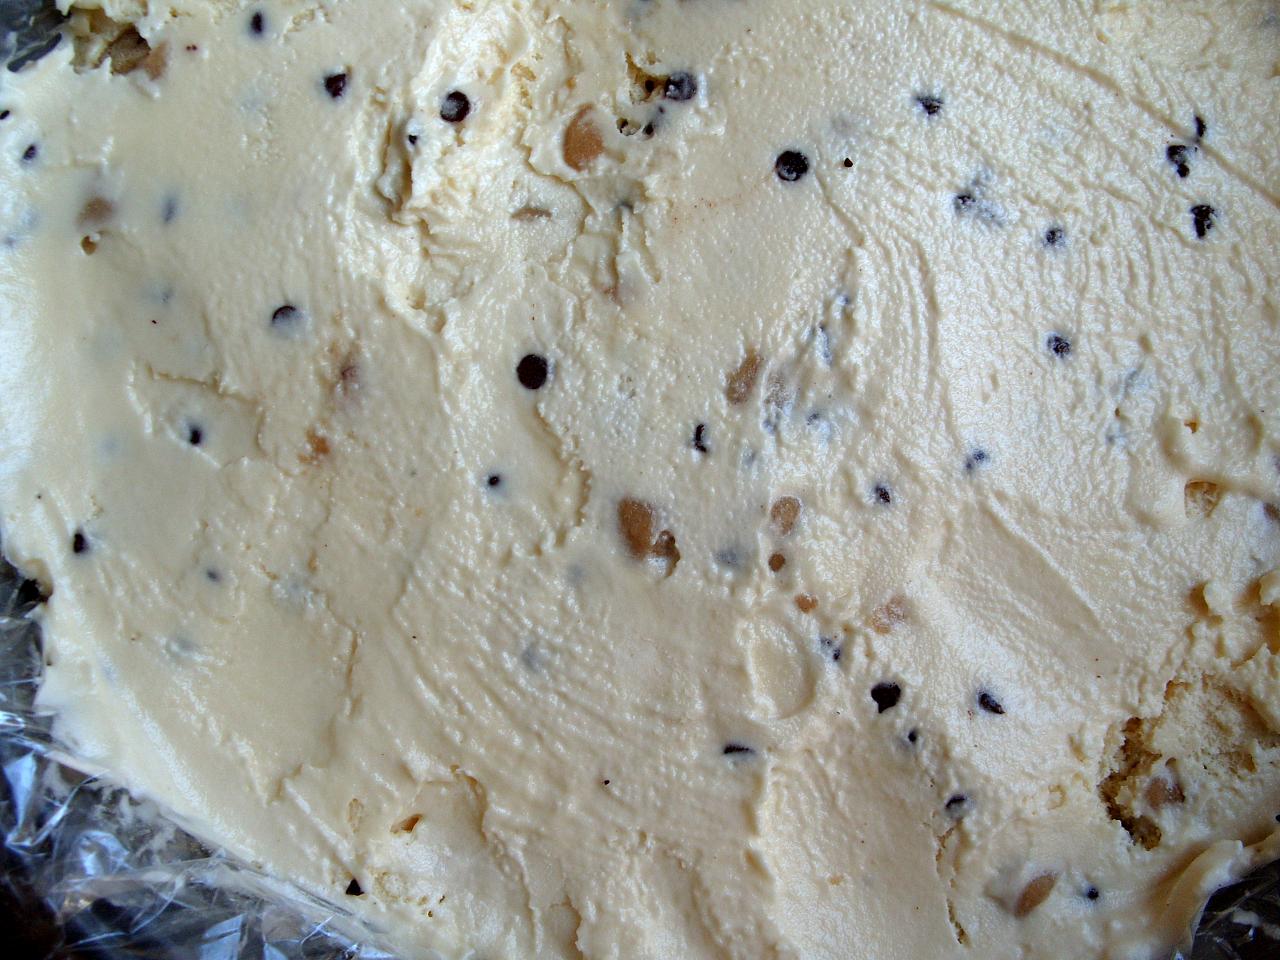
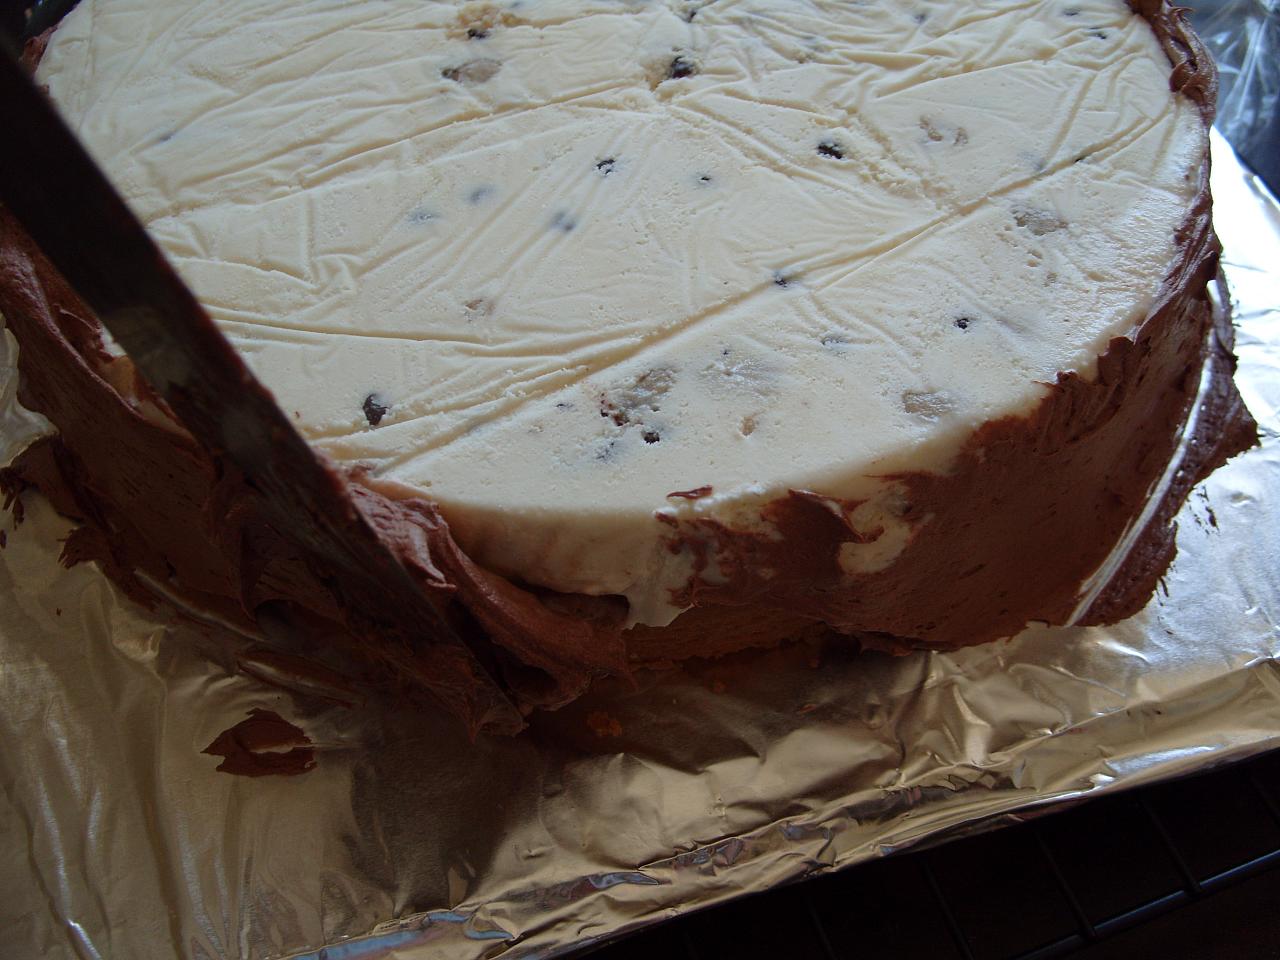
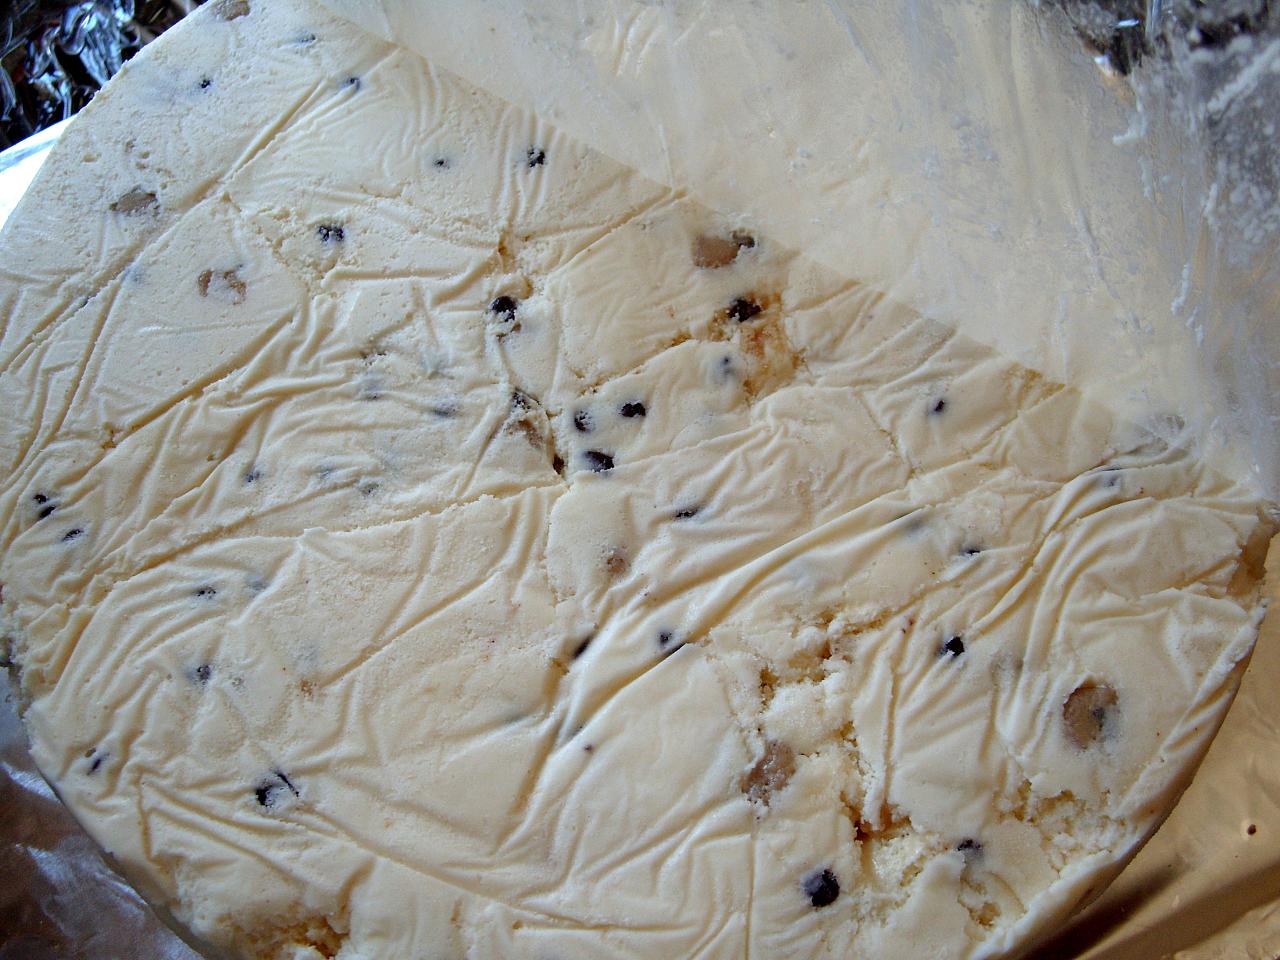 Prepare the same pan(s) for the ice cream by covering the inside with plastic wrap, making sure to leave excess over the sides of the pan. This helps to keep the ice cream from sticking to the pan. It's important to use the same pan(s) for the ice cream as you did for the cake, thus ensuring a better fit when you combine the two.
Allow ice cream to soften enough to spread into the pan; but don't let it soften too much that it becomes mushy. You need it to be firm but spreadable. Usually a half gallon brick of ice cream is more than enough. For a half-cake/half-ice cream cake, only fill the pan about halfway. For an all-ice cream cake, fill the pan about 3/4 full. If you make it too thick, it'll be difficult to cut! Make sure the ice cream is packed as evenly as possible, and work quickly to avoid it from melting. (This tip is important throughout the ice cream cake making process, and is where a deep freezer really comes in handy. If, at any time, the ice cream begins to melt and become unworkable, just pop it back into the freezer until it's solid again). Optional: Spread Oreo cookie crumbs (or any kind of crushed cookies, or even graham crackers -- use your imagination!) on the top of the ice cream (it will be the bottom when placed on the board). You can use it, I suppose, for the cake/ice cream cake, but I've never personally tried it that way.
 Put into freezer while preparing the board -- or for as long as it takes to become solid again. Without a deep freezer, this could take a day or more.
Step 3 - Cake Board and Cake/Ice Cream Assembly
You can find them wherever cake supplies are sold -- even Wal-Mart has a cake supplies section, usually in the crafts department. I didn't have the right size cake board handy, so I created one using two pieces of cardboard cut to about 1" larger than the cake on all sides -- just make sure you have enough room for handling it during and after frosting the cake. Doubling the cardboard decreases the chance of it folding up on you and causing the cake/ice cream to fall onto the floor. You can tape the two pieces together, but it's not necessary. Then I covered the cardboard tightly with aluminum foil (be careful not to tear it), folded the edges and secured them to the bottom of the cardboard with masking tape. Before placing the cake (or ice cream) on the cake board, spread a little frosting in the center of the board. This helps to keep the cake (or ice cream) from sliding around while frosting and decorating.
Carefully place the cake (or ice cream cake) in center of the board. If it's not centered, it'll be difficult to carry the board, increasing the chances of losing your cake/ice cream cake. It doesn't have to be exactly centered, but as close to it as possible.
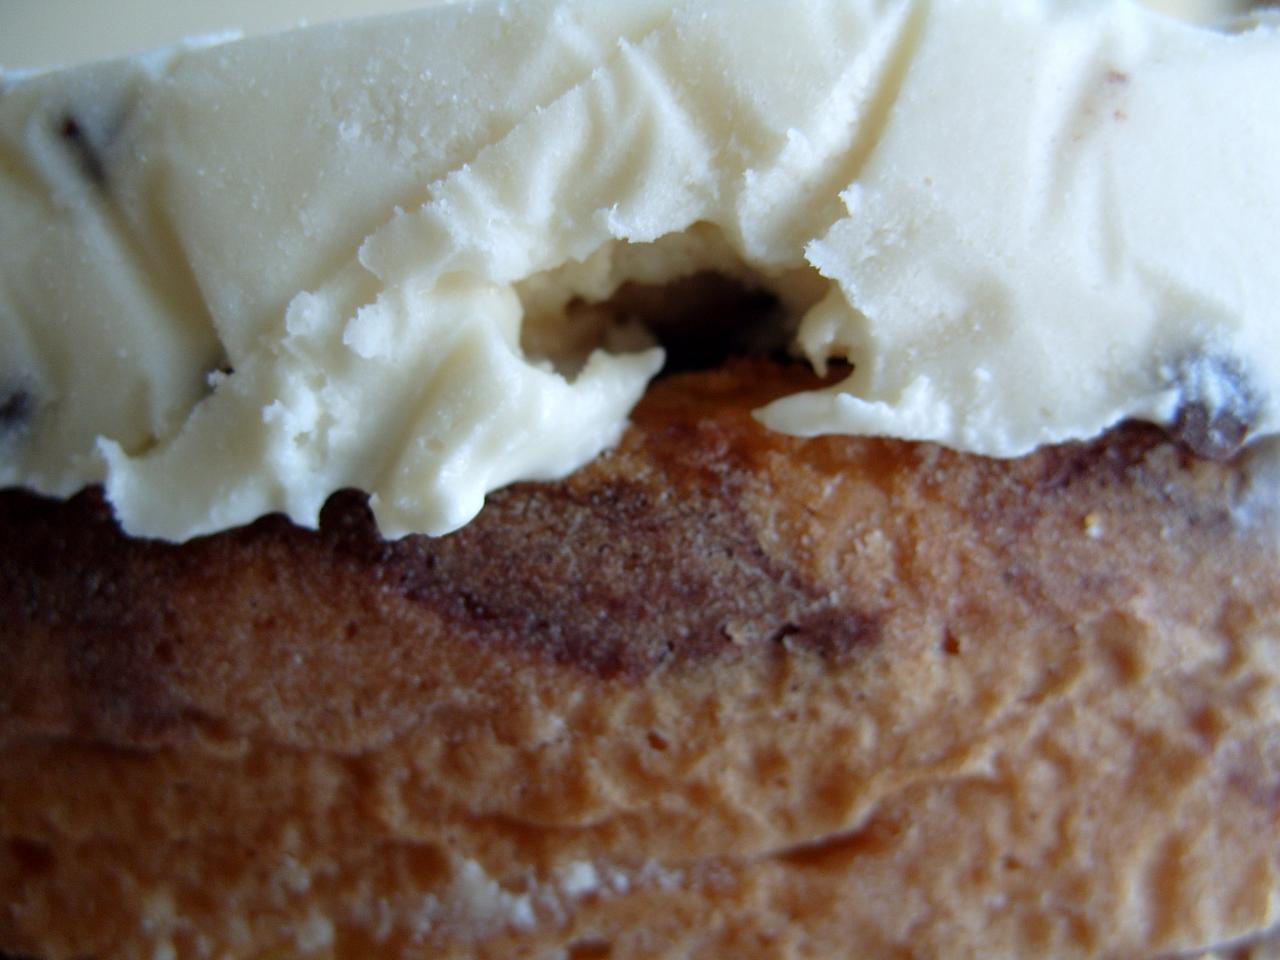 If using cake, add the ice cream portion to the top. Again, try to get it as centered on the cake as possible. (There may be a slight size difference -- either smaller or bigger than the cake -- but if it's centered, it shouldn't be a problem.) You can place a small amount of frosting on the cake to help hold the ice cream portion in place, but, again, it's not necessary.
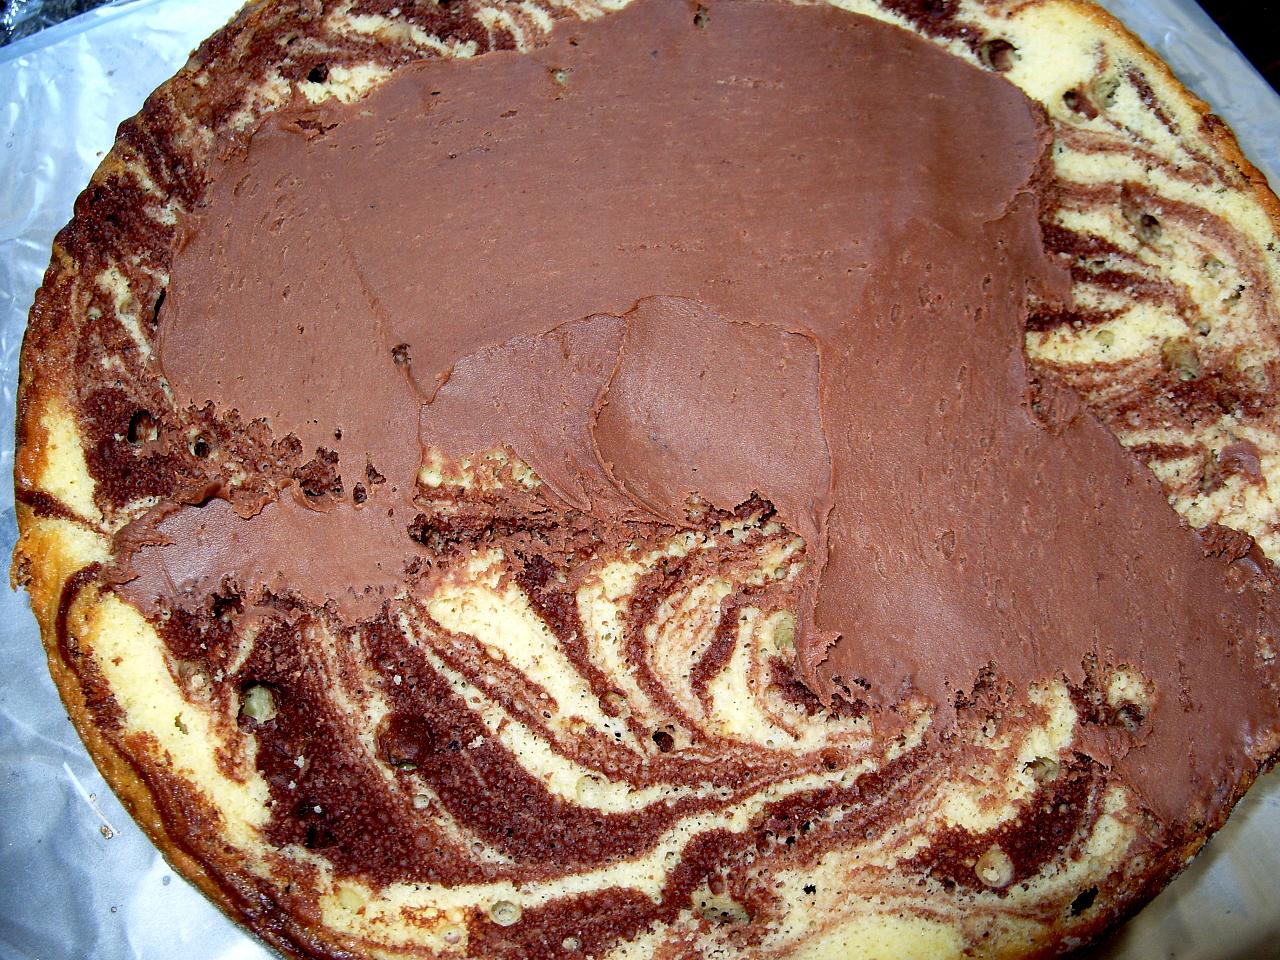 Place back in freezer. If leaving it in the freezer for a long time, make sure to cover it with plastic wrap to avoid freezer burn. (I had to do this. Not having a deep freezer means leaving it in the freezer for at least a couple of days or more, even with the freezer set at its coldest setting.)
Step 4 - Frosting
(This is where the constant placing of the cake into the freezer is especially important.)
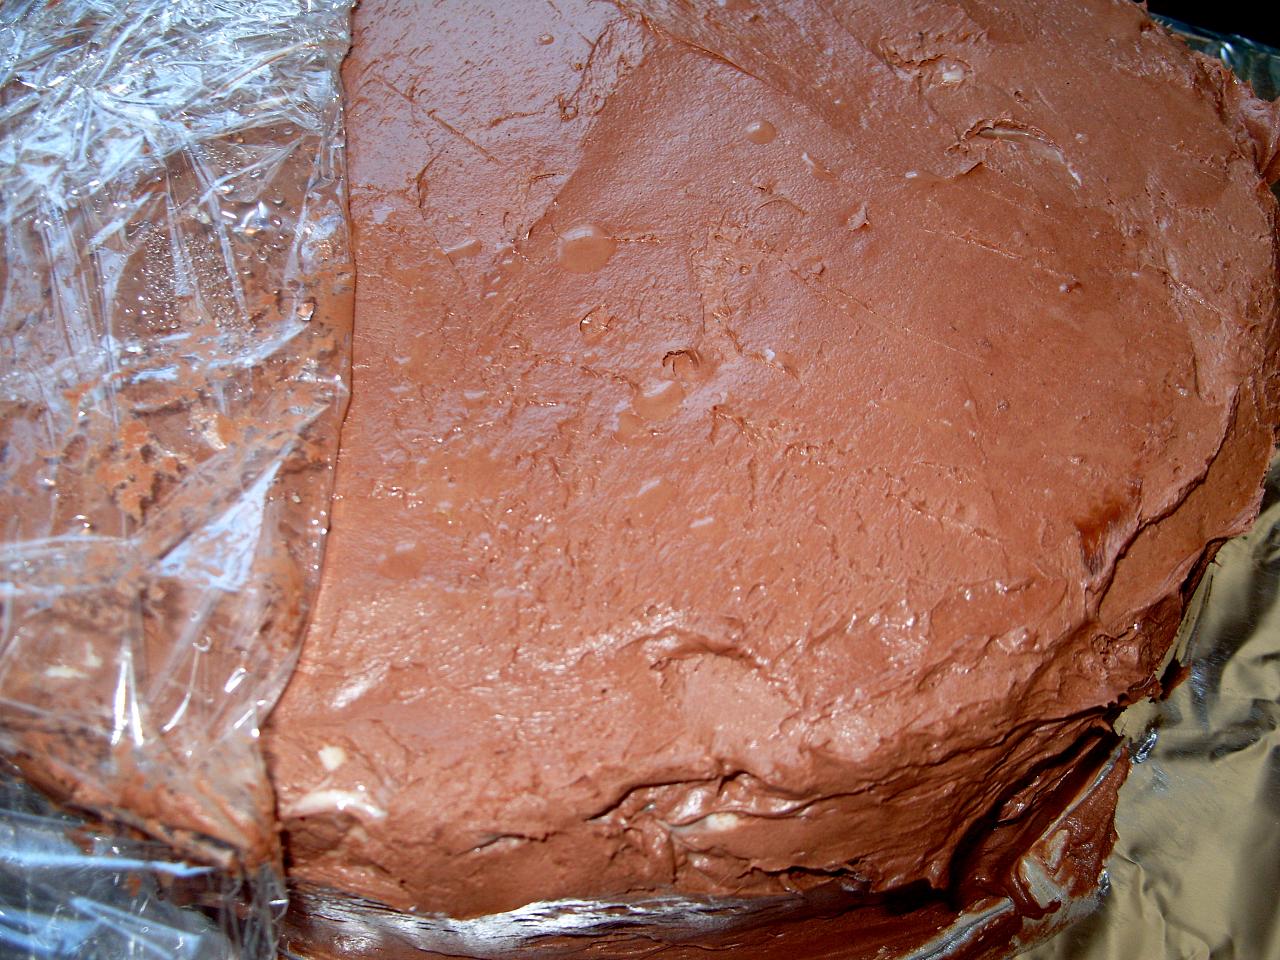
For Hayley's cake, I cheated and used a can of whipped chocolate frosting. I'm not sure I'll even decorate it, as the many cake-decorating years behind me have made this a very painful process for me. But that's not how I usually frost it. There are at least a couple of other options.
You can make your own frosting, like the kind you use for decorating the cake -- usually a buttercream frosting, but you can use your own favorite recipe. Or you can cover the entire cake (and ice cream cake) with sort of an ice cream frosting (instructions below). Generally, I cover the cake with ice cream, then create my own icing for decorating (I'd give the recipe, but I am not very good at giving exact measurements. I rarely measure ingredients.) Whichever option you choose, just spread evenly over entire cake/ice cream cake (top and sides). If the ice cream cake is frozen solid, and you work quickly, the frosting (or ice cream frosting) will stick to it easily. If it starts to slide around while you're applying the frosting, just slip it back into the freezer again. The smoother the surface, the better/easier for decorating.
 Ice cream frosting: Place some vanilla ice cream into a mixing bowl. (French vanilla ice cream is fine too, but will require more coloring.) The amount will vary, depending on the size of your ice cream cake. Just remember that having too much is better than not having enough. Allow the vanilla ice cream to melt, stirring often, until it is just about to spreading consistency. At this point, you add the coloring (icing coloring/paste can also be found where cake decorating supplies are sold -- do not use regular food coloring, as it is too liquidy). I generally use white icing coloring, which is usually found in a squirt tube (for lack of better description), and is a thicker liquid. This gives you a nice solid white background (a blank slate of sorts) for decorating. You can use any color you'd like. The liquid decorating colors come in different colors, I think, but I've only used the white in this form. For the actual decorating icing, I use the paste coloring, which can also be used for the ice cream icing -- just remember that a little paste goes a long way, except when using darker colors (especially red and black, which both use a lot of coloring to produce the right results). Usually a little paste on the end of a toothpick is fine. At any rate, just mix the coloring into the ice cream until you achieve a smooth, even color, and the ice cream is spreadable. If it becomes too drippy, just place into the freezer and continue mixing at a later time. When it is thick, but workable, just spread it evenly (in as thin a layer as possible) over entire ice cream cake, until you have a smooth surface for decorating. Again, remember to keep placing the ice cream cake and ice cream frosting back into the freezer when it starts to melt....and work as quickly as possible! A turntable (lazy susan) helps this to go more smoothly.
Lastly, put into freezer until completely frozen again...then decorate to your heart's desire!
Allow cake to sit for a few minutes before cutting it. The exact time depends on how frozen the ice cream is.
Tip for frosting cakes made with character/specialty pans (think Mickey Mouse, Barbie, Race Car, etc)
If I'm doing a specialty cake, I either frost the sides with ice cream icing, or cover the entire cake with frosting (usually using a #32 decorating tip) with star-shapes in varying colors (differs for each design), and detail (outline) with a #2 decorating tip.
Whichever cake/decorating options you use, just be creative -- the possibilities are limitless, and it's not as difficult as it may seem. If you are patient and work quickly, the results are delicious. Even if it's not perfect (believe me, even mine are sloppy at times), your friends and family will enjoy this special treat made by you!
3 comments:
Great directions. Please wish Hayley a very happy birthday for me!
I just baked my first cake tuesday and wanted very much to add the ice cream but I had no idea what type of frosting I should use. This was very helpful! I'm sure I'll be hooked...
Glad to know at least someone finds this helpful. I did another ice cream cake - without the cake - but never did do another post. I even took pictures!
Post a Comment